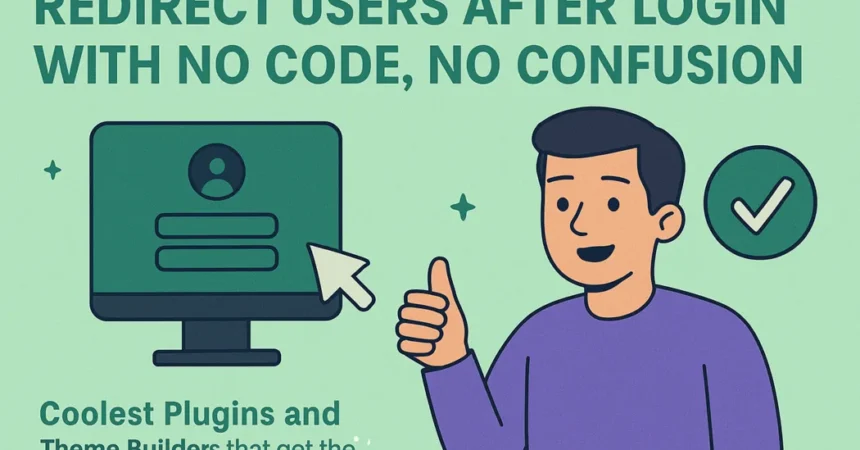
Running a WooCommerce store comes with a lot of little things that need sorting. One of those things is what happens after a customer logs in—specifically, how you choose to redirect users to the right place. You might not think much about it at first, but it really matters where they land next. It can decide how fast they shop or if they even stay on the site.
Some store owners want users to land straight on their account page. Others might want them to go to a special page, like a welcome dashboard or a product area just for them. But not everyone knows how to set this up without touching any code. The good thing is you don’t have to.
In this blog, we’re gonna walk through different ways you can redirect users after they log in. We’re keeping it beginner-friendly, no coding, no stress, just easy steps you can follow.
We’ll also talk about some handy plugins that help you do this with a few clicks. If you’ve been wondering how to get this done without messing with templates or PHP files, then this guide is for you. Let’s get into it.
Redirect Users With The Help of a Theme or Page Builder Settings
Not everyone wants to deal with plugins when setting up redirects. At times, you might have come across a theme or page builder that already provides you with these options; you need to know where to look.
1. Using a Theme’s Built-In Settings
A lot of modern WooCommerce themes come with simple redirect settings. Especially the ones made for shops. You’ll usually find them inside the theme’s panel or customization options.
Here’s how to set it:
- Head over to Appearance, then Customize
- Look for something like WooCommerce or Shop Settings
- Inside that, you might see an option like After Add to Cart or Cart Behavior
- Choose where users should land. Could be cart, checkout, or stay on the same page
- Save and publish
Some themes also let you set a custom page as a redirect. So you could create a thank-you page or upsell page and link to that.
2. Using a Page Builder Like Elementor
Now, if you’re using Elementor or something similar, it gives you more control. Especially if you’ve got Elementor Pro.
Here’s how you set it up:
- Open the product or button you want to edit inside Elementor
- Click on the Button or Add to Cart widget
- In the left panel, scroll till you see Link or Redirect Settings
- Set it to go to a custom URL and paste your page link
- You can also add conditions using Elementor’s dynamic settings
This helps if you’re building custom landing pages and want full control over buyer flow.
However, if you are unable to find any redirection option within the theme or builder, then that means they did not include it. In this scenario, you might just need a plugin or resolve issues working with the code.
Redirect Users With the Help of Plugins
Sometimes you want customers to land in the right place after they log in or sign up. That’s where a solid WooCommerce login redirect plugin comes in handy. These plugins let you choose the exact page users go to after login, registration, or logout. They make the site flow feel smarter and help customers stay focused.
1. Extensions: Redirect User After Login and Register
This WooCommerce Login Redirect by Extendons sits at the top because it does what it claims and keeps things simple. You can set redirect rules by role or even by specific users. Choose login, registration, or logout actions. Then assign a default or custom URL page for the redirection. Great control and works right out of the box.
2. LoginWP
LoginWP lets you make redirect rules based on user roles or users with set capabilities. You can also send the user back to the page that they were on before. It can be done with the help of a dynamic tag {{current_page}} or {{previous_page}}. It works flawlessly with WooCommerce as well as other plugins.
3. After Login Redirect by Sajjad
A lightweight free plugin that lets you target redirects by user role, username, email, or ID. It suggests URLs automatically and handles filters and redirects inside the WooCommerce login flow. Simple but gets the job done.
4. WooCommerce Login Redirect (WP Hive)
This plugin works with standard WooCommerce login pages. It lets admins set one target page or triggers for all users. It’s basic but streamlined—good if you just want one redirect across your store without fuss.
How To Redirect In Practice?
After activation, head into the plugin settings. Create a new rule to redirect users to where you want them to go. Pick whether it’s after login registration or logout. Choose if it applies to all users or just certain roles. Enter the page or custom URL you want users to go to. Save and test. Once you click Login, it should send you to where you set. It’s that simple.
Each plugin works a little differently, but all let you take control of where users land next in your WooCommerce store.
Tips on Choosing the Right Redirect Plugin

Not all WooCommerce login redirect plugins work the same way. Some come with just basic functions, while others give you full control over how users move around after logging in or out. Picking the right one can really change how people feel when they visit your store.
What you need is a plugin that does not mess with your theme or cause problems with your site. It should be light, easy to manage, and should not need a developer just to set things up. Most of the time, store owners end up installing plugins with too many options they never even use.
Here’s a quick list of what to check when picking a redirect plugin:
- Make sure it lets you redirect based on user roles or actions
- Should allow redirects after login, logout, or checkout
- Works well with your existing WooCommerce setup
- Doesn’t affect speed or throw errors on mobile
- Offers logs so you can see if redirects are working right
- Has clear options, so you’re not confused setting it up
You don’t need something big and flashy here. A plugin that does the job clean and keeps things under control is more than enough. You can also test it on a staging site if you are not sure and confirm that the links lead where you want them to.
Wrapping Things Up: Getting That Login Redirect Just Right
Redirecting users after login helps your site feel more put-together. When you redirect users to the right page right after logging in, it saves time and cuts down confusion. Additionally, you’re also guiding them right where they need to go — whether it’s a dashboard, shop, custom page, or anything else..
For example, most store owners just want it to work without having to deal with too much tech stuff. Fortunately, with the right plugin or setting, you can set that up in minutes. Whether it’s by user role, usernames, or one simple rule for everyone, it all depends on what your store needs.
Here’s a quick recap of what we talked about:
- You can redirect users based on role or even specific usernames
- Login redirect helps with user flow and conversion
- Custom pages like dashboards or thank-you pages work great as redirect spots
- You don’t need code for this. Just a plugin does the trick
- Some plugins also support logout redirects if needed
And a few extra tips while you’re at it:
- Test your redirect rules before going live
- Make sure to have a backup or fallback page in case something goes sideways.
- Use role-based redirection if you run a membership site
- Avoid redirect loops by double-checking login/logout settings
- Combine this with your WooCommerce menu cart plugin to make the flow even smoother
Once you’ve got all that figured out, your WooCommerce store is gonna feel a lot more sorted. And your shoppers? They’ll appreciate it too.

